Ideas and Advice
Welcome to our Ideas and Advice page, where expert guidance meets practical solutions. Explore our curated tips on hedge maintenance, flower bed preparation, spray painting techniques, and lawn care. Dive into a wealth of knowledge designed to enhance your outdoor spaces and simplify your gardening projects. Whether you’re a seasoned green thumb or a budding gardener, our advice is tailored to help you achieve stunning results with ease. Start transforming your garden today with our professional insights.
Pro Tips for Hedge Maintenance
Unlock the secrets to maintaining beautiful hedges throughout the year with our comprehensive guide. Learn the best times to trim and the techniques to shape your hedges into living masterpieces. From seasonal care to selecting the right tools, we provide all the insights you need to ensure your hedges are not only healthy but also enhance the beauty of your garden. Whether you’re aiming for neat borders or sculptural statements, our expert advice will help you achieve stunning results with ease.
Guide to Year-Round Beautiful Hedges
Step 1: Understanding Your Hedge
Start by identifying the type of hedge you have. Deciduous hedges often require trimming in late winter to early spring before the growing season, while evergreen hedges might need a late spring to early summer trim. Knowing your hedge type is crucial for timing.
Step 2: Preparing Your Tools
For a flawless trim, you’ll need the right tools. An electric telescopic hedge trimmer is perfect for reaching the tops and sides of taller hedges without the need for a ladder. For finer, detailed work, pruners and shears, including telescopic shears, are essential for cutting back smaller branches and shaping.
Step 3: Timing Your Trim
- Deciduous Hedges: Trim in late winter while plants are dormant to encourage healthy growth in spring.
- Evergreen Hedges: Best trimmed in late spring after the initial growth spurt, ensuring they look tidy throughout summer and into fall.
Step 4: Trimming Technique
- Begin with the sides of your hedge, using your electric telescopic hedge trimmer to create slightly tapered walls that are wider at the base. This ensures sunlight reaches the lower branches, promoting even growth.
- For the top, aim for a level finish or a gentle arch for water runoff. Use long, sweeping motions for a more uniform cut.
- Utilise pruners and telescopic shears for precise shaping and to remove any dead or diseased branches, enhancing the health and appearance of your hedge.
Step 5: Maintenance and Care
- Regularly check your hedge for pests and diseases. Early detection means easier management.
- Water your hedge deeply, especially during dry periods, to promote deep root growth.
- Apply a balanced fertiliser in early spring to support healthy development throughout the year.
Step 6: Seasonal Considerations
- Spring: Focus on shaping and early trimming to set the tone for the growing season.
- Summer: Maintain the shape with light trims as needed.
- Autumn: Prepare your hedge for winter with a final trim, ensuring it’s not too late in the season to avoid new growths that won’t survive the frost.
- Winter: Plan any major reshaping or hard pruning for deciduous hedges during dormancy.
Essential Hedge Trimming Tools
Explore our select range of hedge trimming solutions, designed for every gardening need. Choose from cordless and corded trimmers for flexibility and power, and lightweight multi-tools for versatility. Our telescopic hedge shears bring precision to your fingertips, ensuring every cut counts.
Featured Tool:
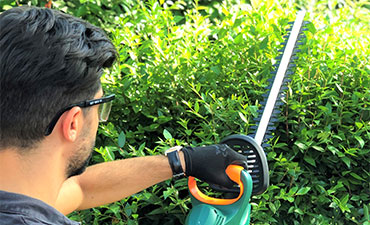
Step up your hedge care with the 4-in-1 Electric Telescopic Handheld Hedge Trimmer and Chainsaw. This innovative tool extends your reach and capabilities, allowing for effortless trimming and cutting of even the most challenging hedges and branches. Designed for efficiency and ease, it’s the ultimate addition to your gardening toolkit .
Upgrade your garden maintenance with our essential selection, offering everything you need for a beautifully manicured outdoor space.
4-In-1 Electric Telescopic Handheld Hedge Trimmer and Chainsaw

How to Prepare your Flower Beds
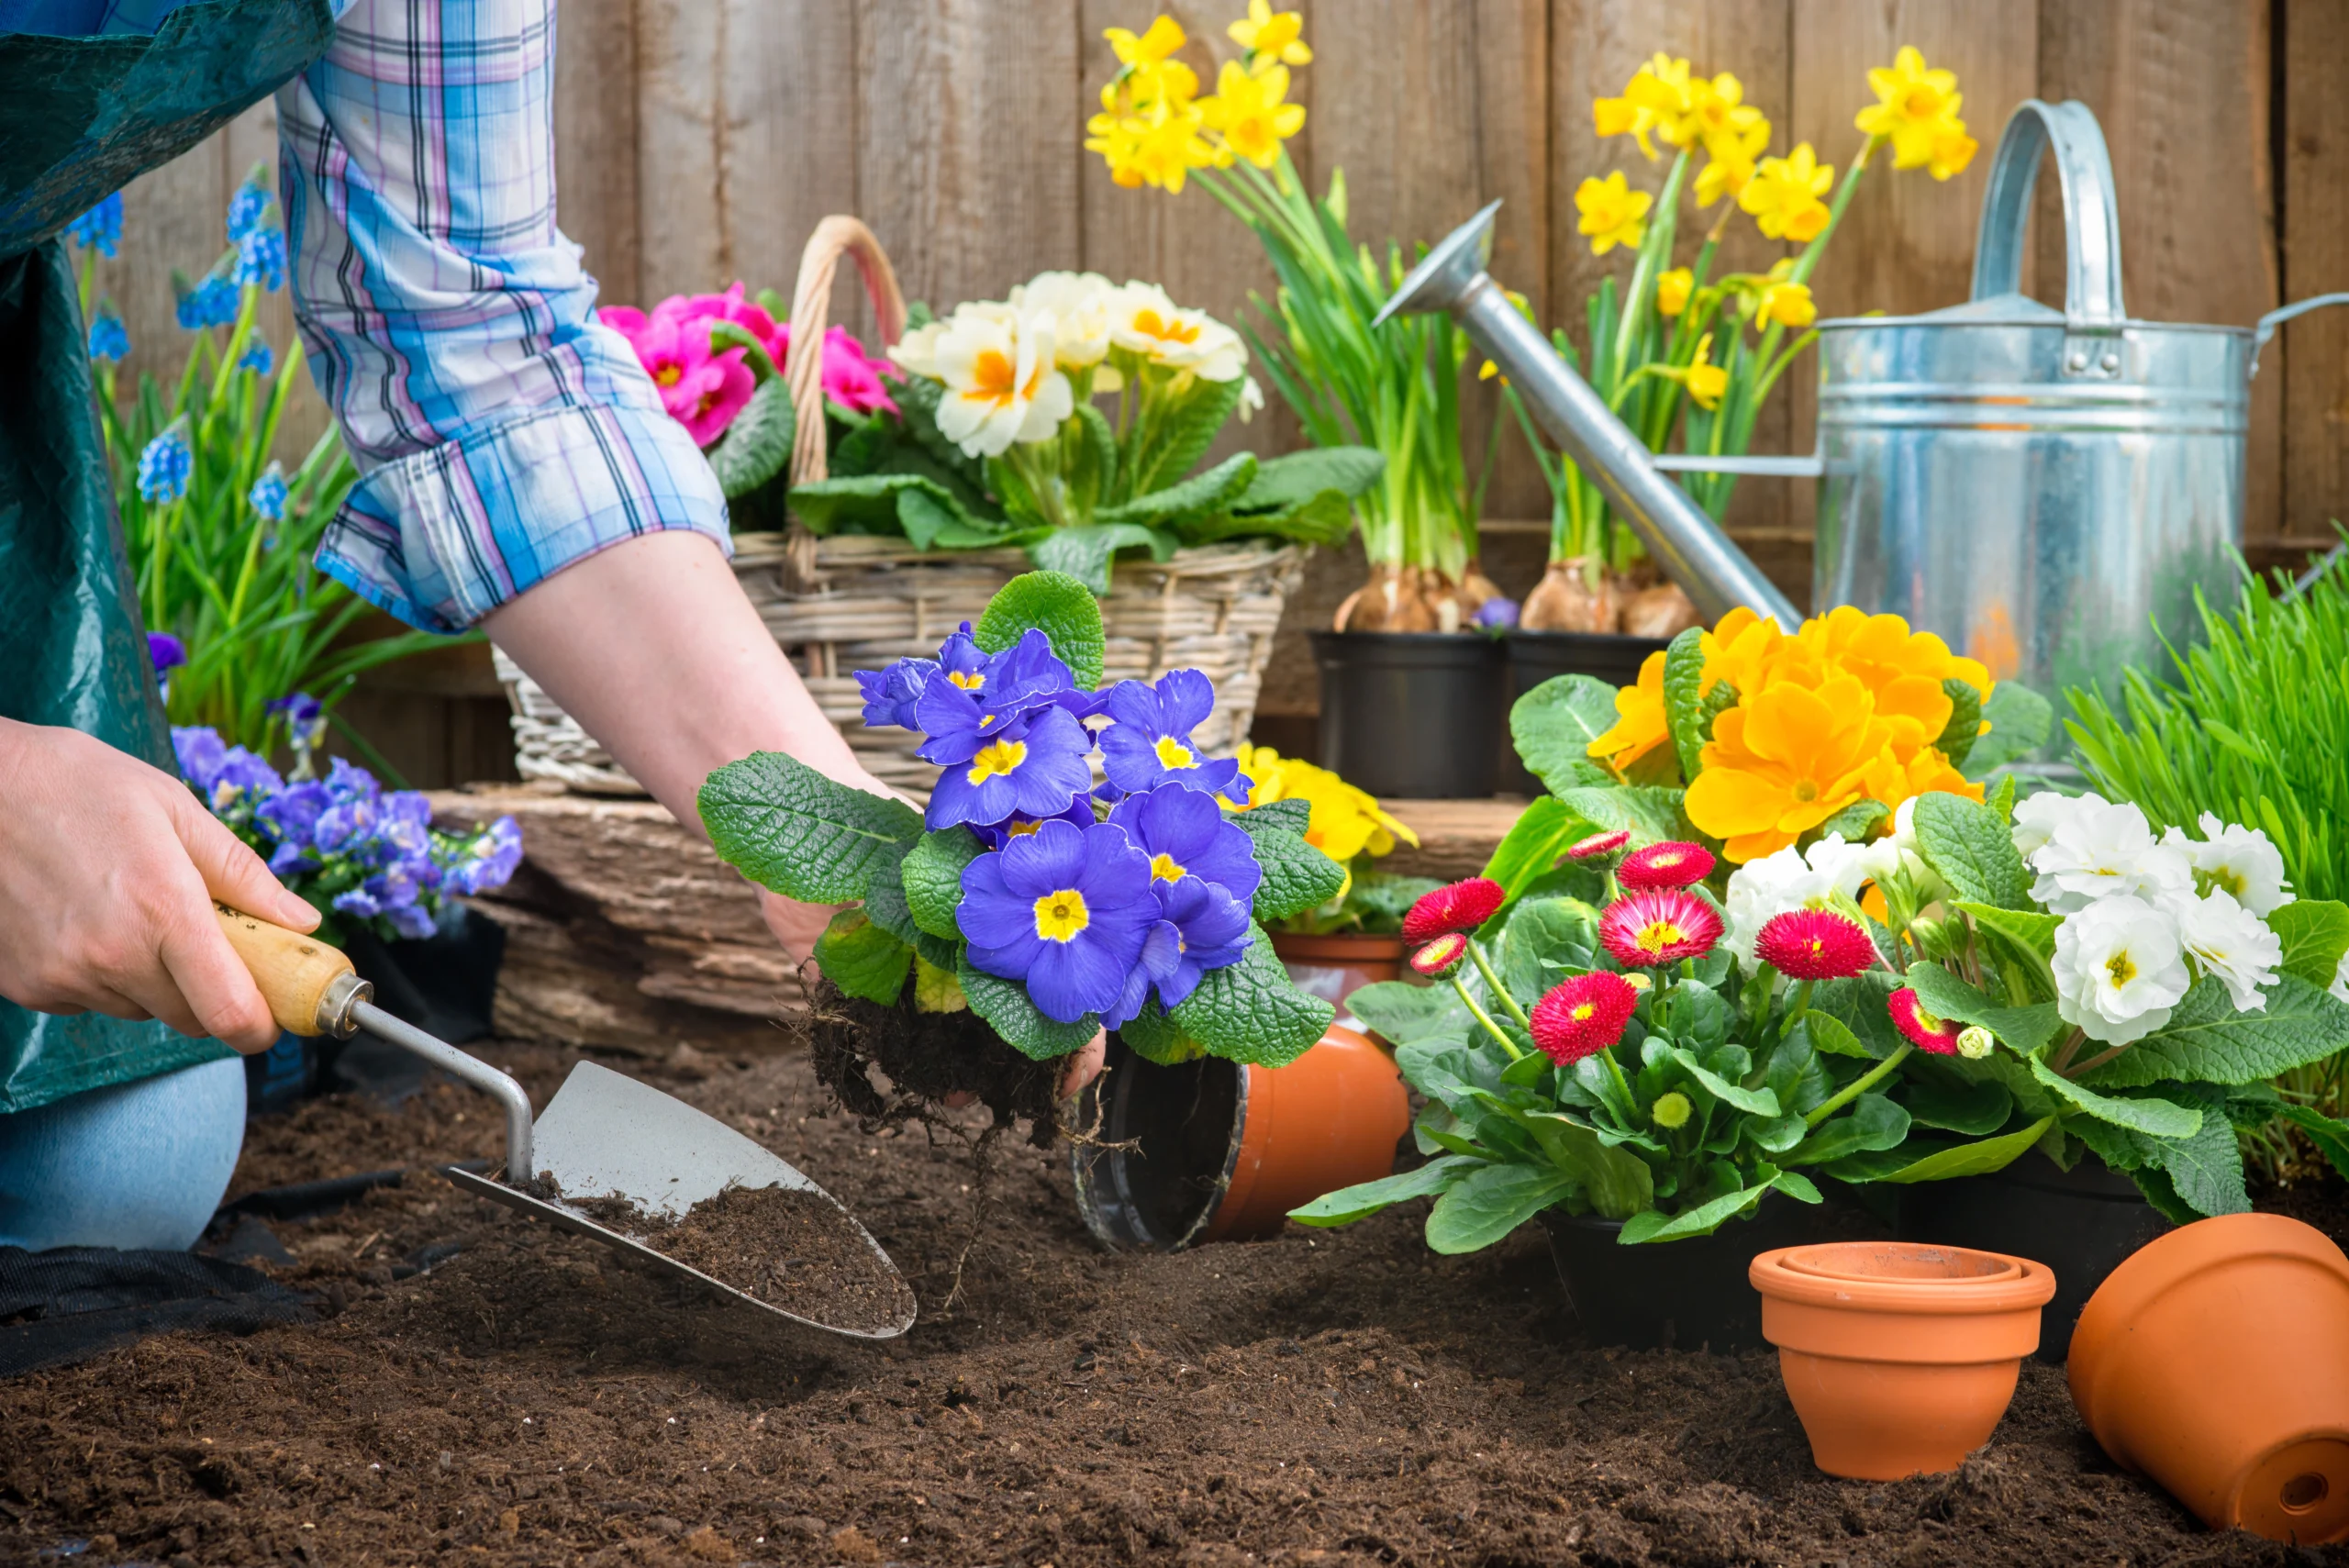
Embarking on the journey to cultivate the perfect flower bed is an exciting endeavour that blends art with gardening. It all starts with thoughtful preparation, laying the essential foundation for a tapestry of vibrant blooms and lush greenery that will captivate the senses. Whether you’re transforming a forgotten corner of your yard into a blooming haven or rejuvenating established beds, proper preparation is key to unlocking the full potential of your floral oasis. This guide takes you through every crucial step, from choosing the best spot that marries sunlight and shade to enriching the soil with nutrients, ensuring your flower beds are primed for success. Dive into the nuances of garden planning and preparation with us, and watch as your dream garden takes root and flourishes.
How to Prepare Your Flower Beds: A Step-by-Step Guide
Step 1: Select the Ideal Location
Find a spot that receives the appropriate amount of sunlight for your chosen flowers, considering also water access and the layout of your garden.
Step 2: Clear the Plot
Remove weeds, rocks, and debris. A cultivator makes it easier to loosen the soil efficiently, a cordless cultivator is ideal eliminating the need for cumbersome cords.
Step 3: Assess and Treat the Soil
Check your soil’s pH and nutrient content using a soil testing kit. Enrich with compost or organic matter as needed, employing hand tools for thorough mixing and aeration.
Step 4: Design Your Flower Beds
Map out your beds, taking into account the mature size of the plants. Garden kneeling benches can provide comfort during this planning phase.
Step 5: Cultivate the Soil
Turn the soil up to 30cm deep with a cultivator, integrating your organic amendments for better structure, aeration, and drainage.
Step 6: Define the Edges
Use edging tools to delineate your beds, achieving a neat and tidy appearance that separates them from the lawn or walkways.
Step 7: Planting
Arrange your flowers according to your design, ensuring proper spacing. Utilise trowels and dibbers for efficient planting.
Step 8: Apply Mulch and Water
Mulch your beds to help retain moisture, discourage weeds, and stabilise soil temperature. Water thoroughly to establish your plants.
Step 9: Regular Upkeep
Maintain your beds with routine watering, weeding, and deadheading. Keep your tools at the ready for easy access.
Best Time of Year for Preparation
In the UK, the best time to start preparing your flower beds is early spring, around March to April, after the last frost when the soil is workable. This timing gives your plants the best start, with milder temperatures and increased moisture levels promoting strong root development before the summer heat.
Featured Tool:
Revolutionise your garden care with the 2-in-1 20V Cordless Grass Trimmer & Cultivator. This versatile device seamlessly transitions between trimming grass for perfect bed edges and cultivating soil to encourage healthy plant growth. Its cordless operation ensures freedom of movement around the garden, eliminating the need for power outlets and avoiding tangled wires.
As a trimmer, it provides precise control for defining edges around flower beds and walkways. When converted into a cultivator, it aerates the soil, preparing it for planting and promoting better root development. The ergonomic design prioritizes comfort and reduces strain, making garden work a more pleasant experience.
This tool stands out for its efficiency and ease of use, supporting your gardening projects from the ground up. It’s built for gardeners who value flexibility and effectiveness, integrating seamlessly into routines for both novice and experienced enthusiasts.
Adopt this 2-in-1 tool for a more streamlined gardening experience, enhancing the health and appearance of your garden with minimal effort.
2-In-1 20V Cordless Grass Trimmer & Cultivator

Spray Painting Made Easy
Unlock the secrets to flawless spray painting with our comprehensive guide. Whether you’re refreshing outdoor furniture, transforming garden decorations, or adding a splash of colour to planters, mastering the art of spray painting can elevate your DIY projects to professional standards. From selecting the right paint to the finishing touches, we’ll walk you through every step to ensure smooth, even, and durable finishes. Get ready to make spray painting easy and achieve stunning results every time.
The Guide to Spray Painting Simplified
Step 1: Preparation is Key
- Choose Your Paint: Ensure it’s suitable for the material you’re painting and compatible with our spray paint gun.
- Prepare the Surface: Clean thoroughly to remove dirt, grease, and rust. For wooden surfaces, sanding may be necessary for a smooth finish.
- Protect Surroundings: Use drop cloths and masking tape to protect areas not to be painted.
Step 2: Setting Up Your Paint Gun
- Assemble Your Tool: Follow the instructions to assemble the 350W Electric Spray Paint Gun.
- Test the Spray: Before starting on your project, test the spray pattern on a piece of cardboard to get a feel for the gun’s operation and adjust the nozzle for your desired spray pattern.
Step 3: The Perfect Technique
- Hold It Right: Keep the spray gun 6 to 8 inches away from the surface, maintaining a consistent distance for even coverage.
- Spray in Motion: Use a steady, sweeping motion, overlapping each pass by about 50% to avoid drips and ensure uniform coverage.
- Apply Multiple Thin Coats: It’s better to apply several light coats than one heavy coat. Allow adequate drying time between coats as recommended by the paint manufacturer.
Step 4: Cleaning Up
- Clean the Spray Gun: Immediately after use, disassemble and clean your spray gun to prevent clogging and ensure it’s ready for your next project.
- Remove Masks: Once the paint is dry to the touch, carefully remove any masking tape and drop cloths.
Step 5: Maintenance and Storage
- Store Properly: After cleaning, store your spray gun in a dry, dust-free place.
- Regular Checks: Periodically check the gun for any parts that may need replacement or maintenance to keep it in top working condition.
Conclusion
Achieving professional-quality spray painting results is now accessible for every DIY enthusiast. By adhering to these steps, you’ll ensure your projects have a smooth, even finish that stands the test of time. Whether you’re refreshing furniture, reviving outdoor items, or embarking on any spray painting venture, this guide makes the process easy and rewarding.
Master Spray Painting with Ease
Unlock the potential of your DIY projects with the right tools for a flawless finish. Spray painting offers a quick and efficient way to revamp your space, whether it’s refreshing worn-out furniture or adding a splash of colour to your garden accessories. Achieve smooth, even coverage with less effort and time.
Featured Tool:
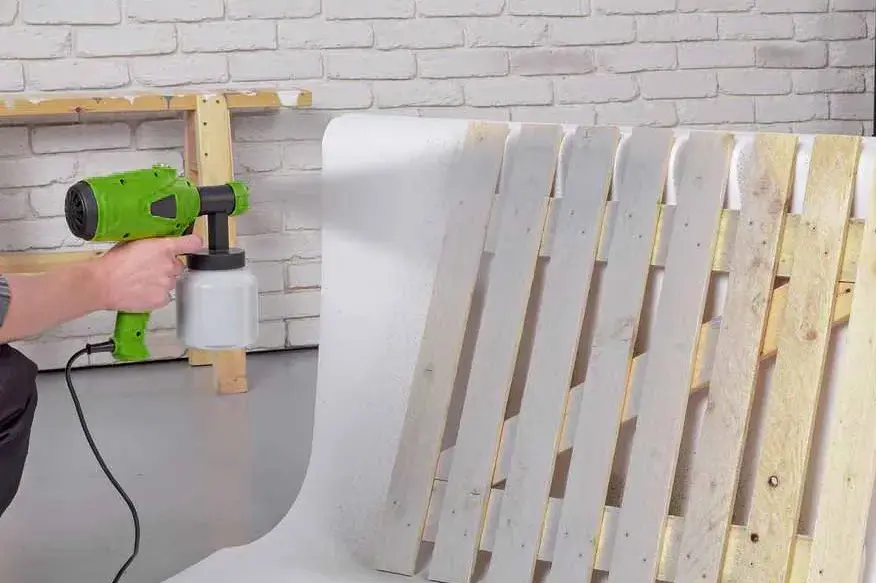
The 350W Electric Spray Paint Gun stands out as an essential tool for any spray painting project. Its powerful 350W motor ensures consistent paint flow, covering large areas quickly and evenly without the hassle of brushes or rollers. With adjustable settings, you can customise the spray pattern and paint volume to suit any task, from detailed work on intricate pieces to broad coverage on larger surfaces. This spray paint gun not only simplifies the painting process but also elevates the quality of your finishes, making it a perfect addition to your DIY toolkit.
2-In-1 20V Cordless Grass Trimmer & Cultivator

Your Guide to the Perfect Lawn
Achieving the perfect lawn is a goal for many homeowners, offering a lush, green canvas that enhances the beauty of your home and provides a space for relaxation and play. A well-maintained lawn requires attention to detail, from selecting the right grass types to understanding the nuances of feeding, mowing, and watering. This guide will walk you through the essential steps and expert tips needed to cultivate a healthy, vibrant lawn that’s the envy of the neighbours. Whether you’re starting from scratch or looking to improve an existing lawn, our comprehensive approach will help you navigate the journey to achieving that perfect, verdant outdoor space.
Creating a Lush Green Oasis
Step 1: Assess Your Lawn
Start by evaluating your current lawn situation. Identify areas of concern, such as bare spots, weeds, or disease. Understanding your lawn’s condition will guide your next steps.
Step 2: Choose the Right Grass Type
Select a grass type suited to your climate, soil type, and lifestyle. In the UK, cool-season grasses like Perennial Ryegrass and Fine Fescue are popular for their resilience and year-round green.
Step 3: Soil Preparation
For new lawns, remove weeds and till the soil to a depth of about 15-20 cm. Add a layer of topsoil and compost to enrich the soil with nutrients.
Step 4: Sowing Grass/Laying Turf
If starting from seed, evenly distribute the grass seed over the prepared soil, lightly rake to cover, and water gently. For instant results, consider laying turf; ensure the pieces are snugly fitted together without overlaps.
Step 5: Watering
Water your new lawn deeply but infrequently to encourage deep root growth. Established lawns require about 1 inch of water per week, either from rainfall or irrigation.
Step 6: Mowing
Begin mowing when the grass reaches about 7-8 cm in height. Never cut more than a third of the grass blade length at a time to avoid stress on the lawn.
Step 7: Feeding
Apply a lawn fertiliser in early spring and again in autumn. Choose a fertiliser tailored to your lawn’s specific needs, considering nitrogen, phosphorus, and potassium content.
Step 8: Weed and Pest Control
Regularly inspect for and address weeds and pests. Opt for manual removal or use targeted treatments to manage infestations without harming the grass.
Step 9: Aeration and Scarification
Perform aeration in autumn to relieve soil compaction, followed by scarification to remove thatch. These practices promote healthier growth and water absorption.
Step 10: Regular Maintenance
Keep up with regular mowing, watering, and feeding. Address issues promptly to prevent them from escalating. Seasonal care, including overseeding bare patches in spring or early autumn, will keep your lawn thick and vibrant.
Essential Tools and Supplies for Lawn Care
For a lush, healthy lawn, the right tools and supplies are essential. Use a good quality aerator to enhance soil condition and nutrient absorption, hoses for consistent watering, and tailored grass fertilisers to encourage vibrant growth. These key items form the core of your lawn care arsenal, enabling you to cultivate and maintain your garden effortlessly. Discover our handpicked range to equip yourself for creating and upkeeping your green haven.
Featured Tool:
Transform your lawn care approach with our 1500W 2-in-1 Powerful Electric Scarifier & Aerator. This indispensable tool expertly tackles thatch, moss, and debris removal while enhancing soil aeration, crucial for optimal water, nutrient, and oxygen flow. Equipped with a robust 1500W motor, it ensures comprehensive scarification and aeration, fostering a healthier, more lush lawn. Its dual-function capability allows for seamless transitioning between scarifying and aerating tasks, offering unmatched versatility for your garden maintenance needs. Designed for those seeking professional-grade lawn care results with simplicity and efficiency, this electric scarifier and aerator is a must-have for achieving and maintaining an impeccably groomed garden.


